
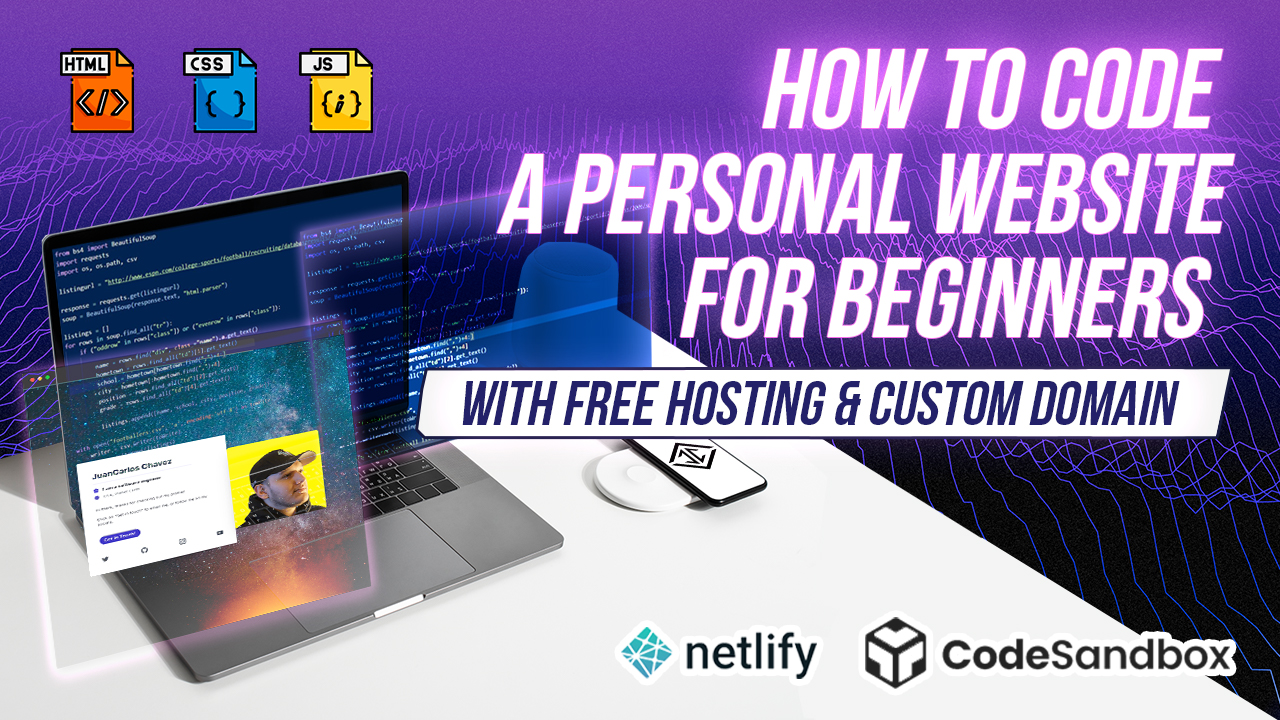
Have you ever wanted to learn to code but didn’t know where to start? You are in the right place. This blog is to help accompany the video above as a written guide.
Who is this guide for?
This tutorial is designed for those who are total beginners to web development and coding. Have you heard the terms HTML & CSS but never knew exactly what or how it’s used?
Instead of rambling off definitions and origins, this guide shows you how to get hands-on with some simple code to get an understanding of how simple web apps are built and deployed.
What we’re going to cover:
- What a code editor is
- Modifying and Adding HTML Code
- Hosting our site with a custom subdomain
Let’s get started by clicking this link to our sandbox template: https://codesandbox.io/s/juancarlos-tech-how-to-code-personal-website-tutorial-56193
This link will take you to “codesandbox” with a sample personal website
Codesandbox is a online code editor for rapid web development that you can quickly experierment and prototype web apps. And it’s totally free which is nice.
Think of this like google docs, but for code. Instead of typing words to create pdfs and documents, you type code to create websites and applications.
1. Quick Overview of the Editor
Once the page loads you will see a web page on the right, some code on the left, and you’ll see some other items here in the nav bar
Lets take a look at this “files” section.
There is an “index.html” file loaded on the left. This is also the file you see being rendered as a webpage on the right.
This “.html” is just a file type that tells the web browser how elements in a web page should be structured. If you ya’ll want a deeper dive into HTML, CSS, and Javascript, let me know and I can make some more content around this.
Inside of images folder you’ll see a profile pic of myself that we will eventually update to yours.
Then we have this rocket ship button that will allow us to publish this website, more on that later.
Let’s Edit some Code
Ok now we are going to edit the code to customize the website. Don’t get scared of the code, i’ll walk you through step by step.
- What do in this tutorial:
- The image on mobile & desktop
- Texts in the header, paragraph
- Update the links to social media and “Get in Touch”
- Update the background image
- Deploy and host the website to Netlify
- Create a custom URL name with a free subdomain
- Let’s update your name section
- Create H1 tag
- H1 tag stands for a heading tab. You can read more in the Mozilla docs, description is below of what all these tags mean and do. <h1 class=”text-3xl font-bold pt-8 lg:pt-0″>Your Name </h1>
- Update description
- remove everything there and add your own stuff
- Update the social links
- You can remove this whole section if you want.
- Update the image
- you don’t want my mug shot there, so let’s update it to point to yours.
- We can do this in 2 ways.
- Instagram profile picture URL
- Do this by uploading a file by dragging an image file from your desktop into the “images” folder inside of the code sandbox
- Make sure you update the second image below.
- Choose your own background by editing
- Let’s go to “unsplash” to get a free picture for our background
- <body style=”background-image: url(‘https://source.unsplash.com/1L71sPT5XKc‘);”
- Change the colors by going to tailwind and hitting “command + k” to search for border color.
- border-yellow-500
- Find “-yellow-” and replace by clicking “command + f” then click the dropping.
- customize by adding a style tag “style=”color: orange”” or a css class.
- Let’s update the link for the “Get In Touch” button to link to our email.
- <a href=”mailto:username@gmail.com”
- You can add another link to your Soundcloud or maybe an eCommerce store by uncommenting the section below.
- You can copy and paste this and add your own links.
- Let’s update the “title” tag to say “your name personal website”
- <title>JuanCarlos Chavez’s Personal Website</title>
And Bam!
Let’s look at what we did here:
- The image on mobile & desktop
- Texts in the header, paragraph
- Update the links to social media and “Get in Touch”
- Update the background image
Next, let’s deploy this in one click!
Let’s deploy our code and get a customized url
- Let’s deploy the site so that we can share it with others
- Let’s first create an account with codesandbox so we can save our changes and do a “one-click” deploy.
- “Click the “sign in” blue bottom on the top right.
- Login with github or google. Im choosing google. And bam we have the code on our new profile.
- Click on the rocket on the left nav bar.
- We see to option here, deploy to vercel or deploy to netlify,
- We are going to deplloy with netlify
- https://www.netlify.com/
- hosting service for web applications and a pretty popular option for deploying simple websites (rather than wordpress which requires a database and serverside rendering)
- Click on “deploy with netlify”
- Wait for it. Sometimes if you see this page, just go back to codesanbox, refresh, and try it again. It’ll eventually do it correctly.
- Let’s first create an account with codesandbox so we can save our changes and do a “one-click” deploy.
- Now we click the link we can see our app deployed to netlify
- Let’s claim this site so we can add a custom name to the url.
- It’s going to take you to netlify where you can sign in and create an account. it’s totally free and trusted by a bunch of developers.
- You can sign in with email, it’ll ask for an email and passwrod then you will have to verify your email so be sure to use one you have access too.
- Lets go back to codesandbox and Click “claim”
- it’ll take u too a screen that will say “Netlify your CodeSandbox V2 projects”
- Click “add project to Netlfiy dashboard” and continue.
- exit of any modals and let’s click on our site.
- It will take you to the site overview page.
- Clcik on “domain settings”
- then click the “options” dropdown and click “edit site name”
- Add what ever you want it to be named, make sure there is no special characters or spaces.
- Click your new custom sub domain
- Thats it! You did it.
Learning to code is a quick way to get ahead in today’s tech-driven society.
If this tutorial helped you to learn more about coding or websites send me a message to let me know.
And you if like tech, entrepreneurship, and self-development feel free to subscribe to the newsletter below!
Thanks for reading!